Showing posts with label Other Creative Ideas. Show all posts

Wednesday, July 2, 2014

DIY: Painted Wooden Letters

My parents created a super fun playroom for their grandchildren.  It is packed full of all sorts of toys.  The toy room has each grandchild's name on the wall in jumbo wooden letters.

The wooden letters were purchased at Michaels and are about twelve inches tall.  They are solid white.  Here are some ideas as to how they can be painted...

Pink with Polka Dots


My mom painted the first grandchild's letters dark pink then she traced small circles all over the letters.  She painted the circles light pink.  The light pink circles have two thin coats of paint.  The key is to avoid applying the paint too thick so that the strokes do not show.    When using this technique, the letters end up looking very nice and professional.  

The completed letters look great hanging on the wall or standing on a shelf.  We chose to hang "Myla's" name on the wall on a diagonal, as shown in he picture below.


Lime Green with Pink Hearts


When the next grandchild came along we decided to use vinyl decals instead of painting accents on the letters.  My mom painted the letters lime green.  I then cut hearts in various sizes on my Cricut machine.  I used pink vinyl for the hearts.  We peeled the hearts off of the backing and stuck them randomly on each of the letters.  It was super easy and the result looked great!  Using the Cricut machine allows you to add more detailed accents that would be very difficult to paint on the letters.


We staggered "Camille's" letters across one of the playroom walls, as shown below.


Blue with Green Dots and Swirls


The next grandchild's letters were created by painting the background blue.  I then cut small green vinyl dots and swirls using my Cricut machine.  I applied the dots and swirls randomly to each of the letters.


We then hung "Grady's" name in a straight line across one of the walls, as shown below.

Wednesday, June 11, 2014

DIY: Wreath For Your Front Door!

Do you need a new wreath, but don't want to pay the high prices for a pre-made wreath?  Or, maybe you don't like what you see available in stores.  Here's an idea...make your own wreath!  Anyone, crafty or not, can make a great looking wreath.  Here's how...

Step 1: Look at Samples


Put some time into researching wreath styles that you like.  It is easier to craft something if you have a sample to follow.  Take note of how many different blooms are on the wreath and if there are any greens (leaves, grasses, etc.).  Also, decide if you would like to include a bow or ribbon.

Step 2: Get Supplies


In order to make a wreath like the one shown below you will need the following supplies...
  • floral wire (green or brown)
  • scissors
  • grapevine wreath
  • 4 floral sprigs (2 lime green, 2 pink)
  • 2 light pink hydrangeas
  • 2 gladiolus (2 blooms on one stem)
  • 24" piece of burlap (approx. 5" wide)

Step 3: Assemble the Base of the Wreath


Attach the lime green floral sprigs to the grapevine wreath.  This sprig should wrap around the top of the grapevine wreath.  Take the floral wire through the branches on the wreath and through the parts of the floral sprigs so that the wire is hidden.  Wrap around several times to catch all parts of the floral sprig.  Be sure to leave the tips flowers loose so that the wreath has a natural look.

Attach the second lime green floral sprig.  This sprig should wrap around the bottom half of the wreath, as shown in the picture below.  You may need to cut off part of the stem if it is too long.


Step 4: Attach Burlap


Crunch the burlap together (as shown below) or tie to create a bow.  Hold the burlap in place to make sure that you like the positioning on the wreath.  Take the floral wire through part of the branches on the grapevine wreath then through the part of the burlap that is against the wreath.  Continue threading and wrapping until the burlap is secure and looks the way that you want it to.


Step 5: Attach Remaining Flowers


Lay out the remaining flowers on the wreath to set them up the way that you want.  Start by attaching the ones on the bottom and working your way to the ones on the top.

I attached the pink floral sprigs next.  One is at the top and one is at the bottom.  Then I placed one of the gladiolus at the bottom.  I then placed a hydrangea at the bottom so that it sat slightly on top of the gladiolus.  I then attached a hydrangea at the top, and then fit the last gladiolus in just below the top hydrangea.  I had to cut the stems off of the gladiolus and hydrangea blooms.

If there are any leaves included with the stem of flowers, be sure to incorporate them into the wreath, as well.  The leaves create a nice background and give the wreath dimension.  You can see the final product in the picture below.


Step 6: Attach Hook and Hang


Using the floral wire create a small hook to attach to the back of the grapevine wreath at the top.  Use the hook to hand the wreath on your door.

Friday, January 24, 2014

DIY: Refinished Antique Closet Storage Unit

My grandma had this great storage unit in her walk-in closet.  My mom could see great potential in it, so my grandma gave it to her to refinish.  The pictures below will take you through the process of freshening up the tired piece of furniture!  This technique can be used to refinish any piece of wood furniture.

Step 1: Prep the Piece of Furniture 


Remove Knobs

Sand


Sand all parts of the piece of furniture.  Sanding is very easy if you use an orbital sander as shown in the picture below.  Some parts may need to be sanded by hand with sand paper.  In the pictures below, you can see that the piece of furniture has angled shoe shelves.  There is not enough space between the shelves to use the power sander, so those were sanded by hand.

Wipe Down


In order to remove all of the dust from sanding, wipe the piece of furniture clean using a damp cloth.  After it dries, wipe again using a dry cloth to remove any leftover dust particles. 

Step 2: Repair Damaged Areas


In the pictures below, you can see that there was some minor damage to the closet storage unit.  The damage was not extensive, only a few minor holes.  In order to repair the holes place a small amount of vinyl spackling in the hole.  Wipe over the spackling with a damp cloth to make sure that it is smooth and level. 
Before
After

Before                                                    After

Before

After


Step 3: Apply Primer & Paint Base Coat


Apply a coat of a good primer, like Kilz or Zinnser.  This will cover any spackling used to repair damaged and any knots that might be in the wood.  After the primer has completely dried, paint the storage unit with the base coat that you would like to use for the piece of furniture.

Step 4: Distress


Using an orbital sander distress the edges of the piece of furniture.  You can distress to your desired liking.  The more distressing you do, the more rustic the finished piece will look.  The most important thing to remember about distressing is that the paint must cure (fully dry) before you can use a sander on it.  If you try to distress the paint too soon, it will gum up. 

Step 5: Apply Decorative Paint & Reattach Knobs

Using painter's tape, tape off a pattern that you would like to paint on the piece of furniture.  This could be stripes, a chevron pattern, or other stylistic design.  On the piece below plain masking tape was used.  I would suggest using painter's tape, like FrogTape.  If you are concerned about the paint bleeding under the tape (which it shouldn't if you use FrogTape) then you should paint the edge of the tape with a clear paint coat.  This will seal the edge.  Remove the tape immediately after painting the decorative coat. 


The decorative effects created on the closet storage unit shown below were done using two very similar green colors (one lighter than the other).  Several widths of stripes were painted and several sizes of circles were painted using the two different colors.

Friday, January 10, 2014

How to Make a Candy Cake

My brother does not like chocolate, cake, ice cream, or cookies, but he does love candy!  When we thought about getting him a birthday cake for his 30th birthday, I came up with the great idea of creating a Candy Cake.  Sure enough, lots of other people had already come up with this idea too.  :)  I will show you step-by-step how to make a candy cake for the non-cake lover in your family.  It's really easy to do!

Step 1: Get a Box


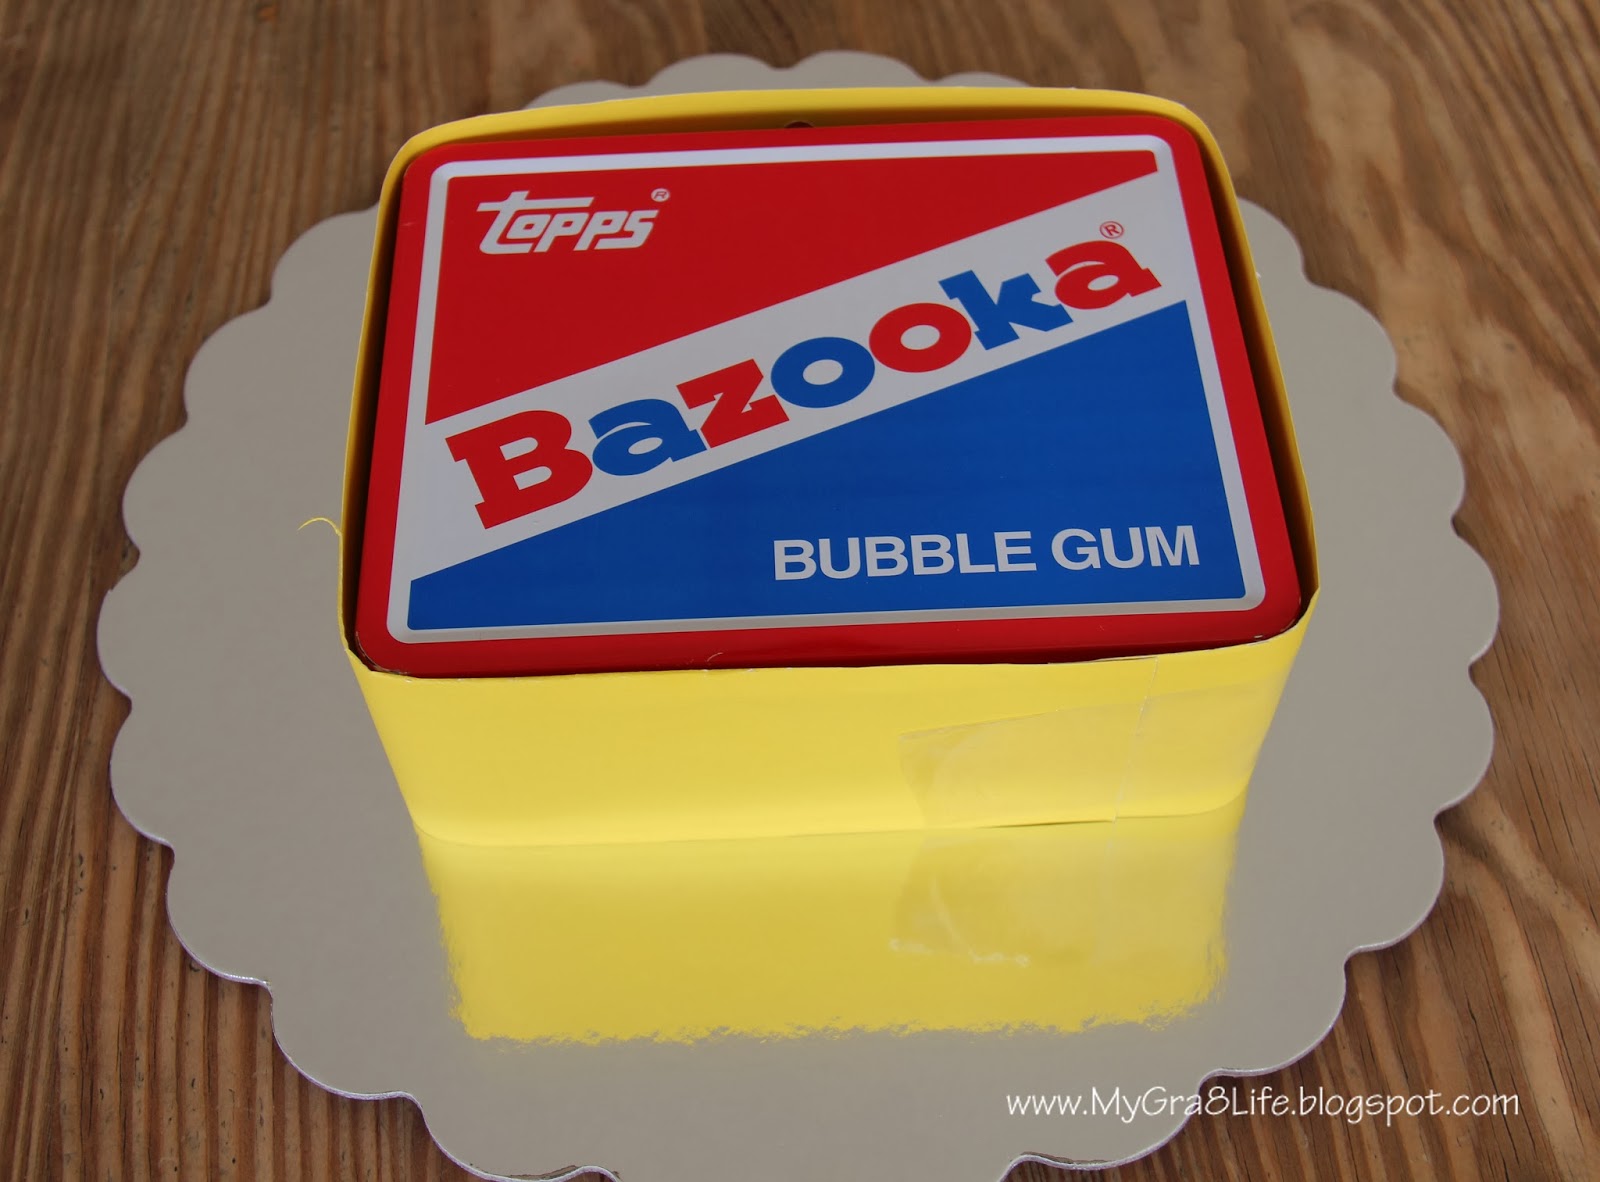
I chose to use one of my brother's lunch boxes from when he was a kid. (My mom has been into cleaning out her attic!)  You could use any type of box.  Keep in mind that you will need to place one more smaller box on top of the bottom one. Place the box on a cake serving tray to start the project.


Step 2: Wrap the Box


Using a piece of sturdy paper, like poster board, wrap the outside edge of the box. 


Step 3: Attach Candy


I chose to use Starburst, but you could use Hersey's Bars, Peanut Butter Cups, or any of the birthday boy/girl's favorites.  Place double stick tape on the back of each of the candy bars.  Carefully attach the candy bars to the paper on the outside of the box.  (They may be a little floppy and insecure.  Don't worry, you will be securing them during a later step.)


Step 4: Get a Second, Smaller Box


I found a small round tin to use for the second layer of the cake.  You could use a tin or a box.  Make sure that it is small enough to fit inside of the first layer of the cake, as shown in the picture below.  Wrap the box with double stick tape, as shown in the picture above.


Step 5: Attach Candy to Second Layer


I placed two layers of AirHeads around the tin.  Once again, you could use any type of candy.  After the second layer is complete, carefully sit it on top of the first layer of the cake, as shown below.


Step 6: Tie with Licorice


Using several pieces of rope licorice, tie a knot around the first level of the cake.  This not only looks great, but it also helps to hold the candy in place.


Step 7: Fill the Empty Spaces


I filled in the empty space on the first and second layer with bubble gum.


Step 8: Add a Candle


Add a tall candle by carefully sticking it into the bubble gum on the top layer.  Voila!  You have a great looking Candy Cake!